

HOW TO DRAW A TAPIR.
What you'll need:
1. Coloured pencils of different shades
- I used orange for sketching--it is also easily erasable
- darker shades for outlines and hatches--I used red-violet and dark indigo
- You can also pick a light colour for highlights--I used lightblue (optional)
- Red - I like to give my characters a blush on the cheeks (but its also completely optional)
2. Watercolour (whatever brand you prefer really, I'm using Sakura)
3. Paint brushes (I like smaller brushes, however, bigger brushes can get the wash done really quickly. Smaller ones are useful when shading)
_________
STEPS:
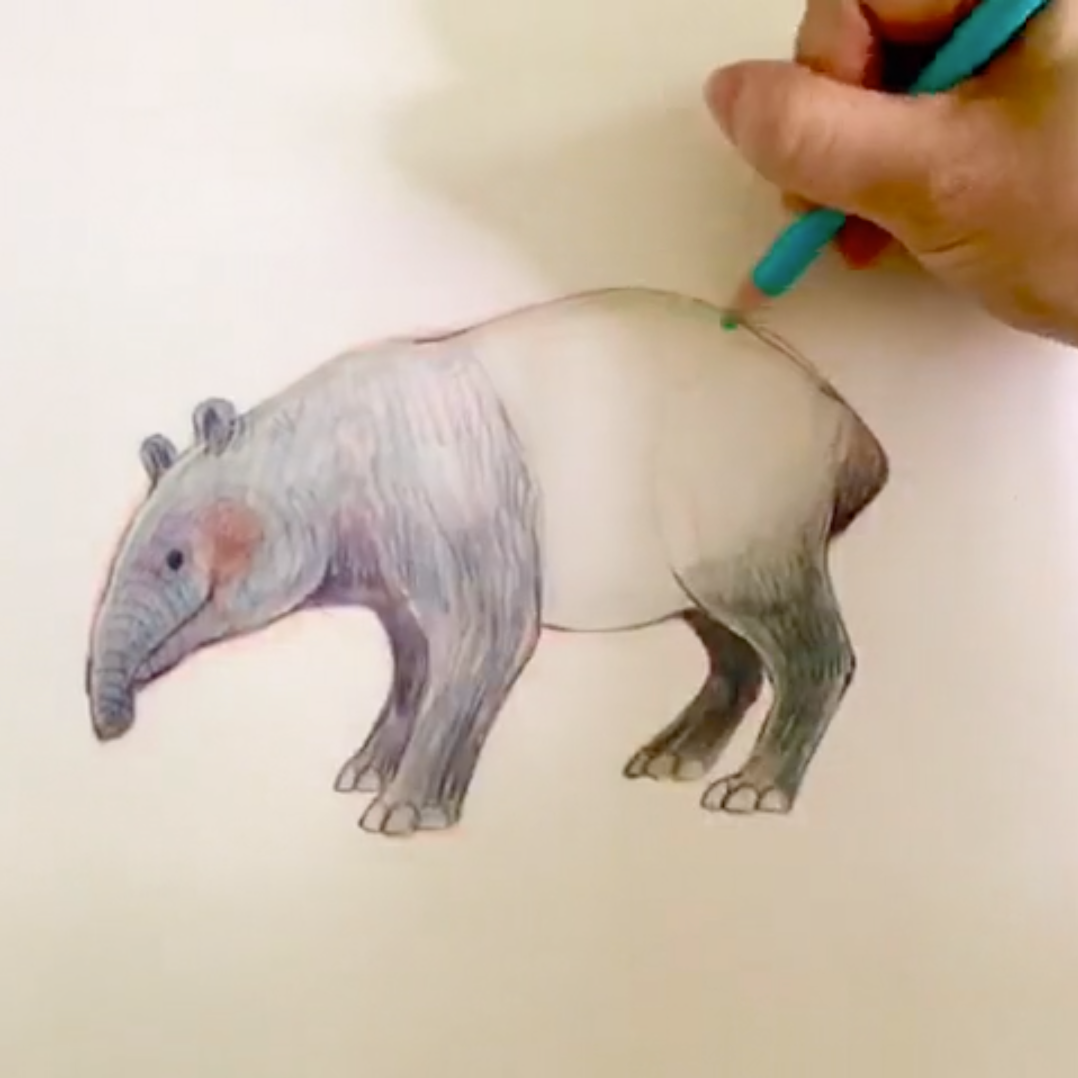
1. Use light colored pencil to sketch the main frame.
2. Then outline and refine the tapir with another pencil with a darker shade
3. Vague hatch (I do it because I like texture, you can do without if you want a smoother looking tapir)
4. Mix a bluish-grey on your watercolour palette and have fun painting!
5. Layering watercolour will give you darker shades on every wash (if you apply more watercolour on a surface that hasn't dried, it will mix in the colours, which is fun if that's the look you're going for--but if you're looking for a crisper shadow, you might want to wait till its dryer)
6. When you're satisfied, leave it to dry! (However long that takes you)
6. Use darkest shade of colour pencil (I don't really like using black, but you do you) to outline the tapir, and give it a little texture (I hatched it more and gave the trunk more grooves)
7. (Optional, but I would recommend) Give em' a blush (red pencil, cadmium works great too! Also adds a charm) and some highlights! (light blue is reflected light from a blue sky, I would go for yellow if the tapir is watching a sunset)
And you're done!
Specially thanks to our local talented Christie Tan. Follow her IG @Christyyeee.